Animal Classification 3-Day Lesson Plan (Free!)
Animal classification is a fun science topic most primary classrooms are expected to cover.
The animal classification concept helps kids understand how scientists make sense of the animal kingdom by naming and grouping species. In addition, sorting and classifying is the foundation for higher-level problem-solving skills.
In this three-day lesson series, students will first learn to classify animals by sorting them into two categories: vertebrates and invertebrates. Next, students will learn that you can sort animals by six basic classifications (mammal, bird, fish, reptile, amphibian, and insect). Students will practice classifying animals by different attributes. They will use a Science Toothy game (free printable and digital task cards included!)
Do you teach virtually? No problem! Watch for online variation tips in the lesson plans.
Big Ideas for the Lessons
1- Scientists classify living things based on shared traits.
2- Classification can help us understand how living things are related.
Goals for the lessons
Day 1– Students will learn vertebrate versus invertebrate.
Day 2– Students will learn six animal classifications: mammal, bird, fish, reptile, amphibian, and insect.
Day 3– Students will practice sorting animals by different attributes.
Day One: Vertebrate versus invertebrate
Materials:

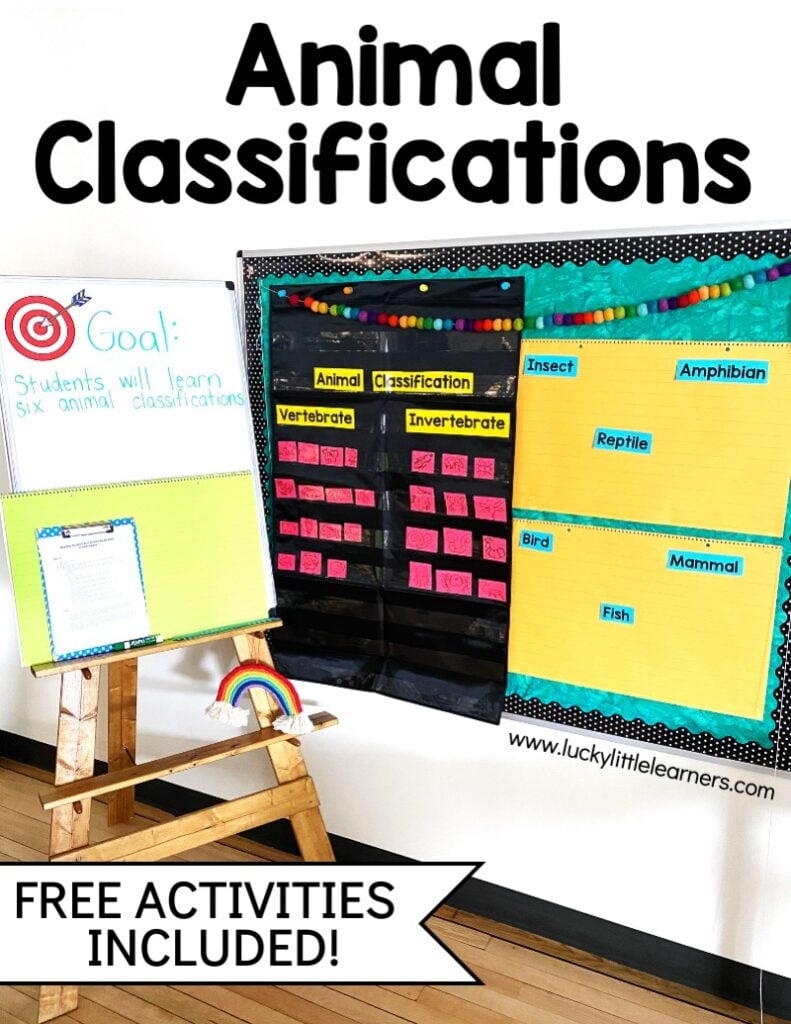
- Pocket chart
- Printed images of a variety of vertebrates (dog, cat, bird, lizard, fish, human, etc.)
- Printed images of a variety of invertebrates (squid, worm, jellyfish, insect, etc.)
- 3 index cards
- #1 = “Invertebrate”
- #2 = “Vertebrate”
- #3 = “Animal Classification”
Lesson:
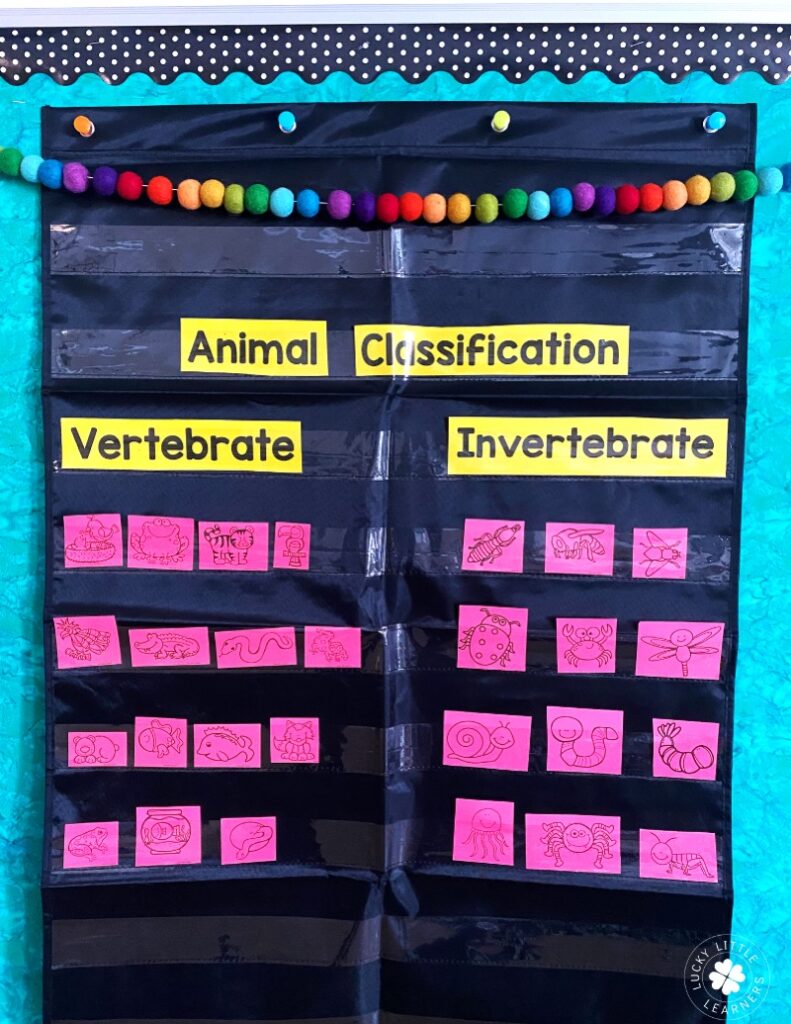
- Without telling students why you are sorting, begin to place the animal pictures into two groups (vertebrate and invertebrate) on your pocket chart. Ask students to try to guess the rule for how you are sorting the animal pictures.
- Facilitate a discussion to help students realize the sorting “rule” is that one group of animals all have a backbone and the other group does not.
- Introduce the words “vertebrate” (animals with backbones) and “invertebrate” (animals without backbones). Label the two groups with those index cards.
- Ask students, “Why would we ever want to sort animals into different groups?” If needed, offer the idea that sorting animals can help us understand how living things are related. Then, introduce the phrase “animal classification”, explain what it means, and display it at the top of the pocket chart.
- Share that tomorrow students will be learning the way scientists sort animals.
Digital Variation
Day Two: Six Animal Classifications
Materials:
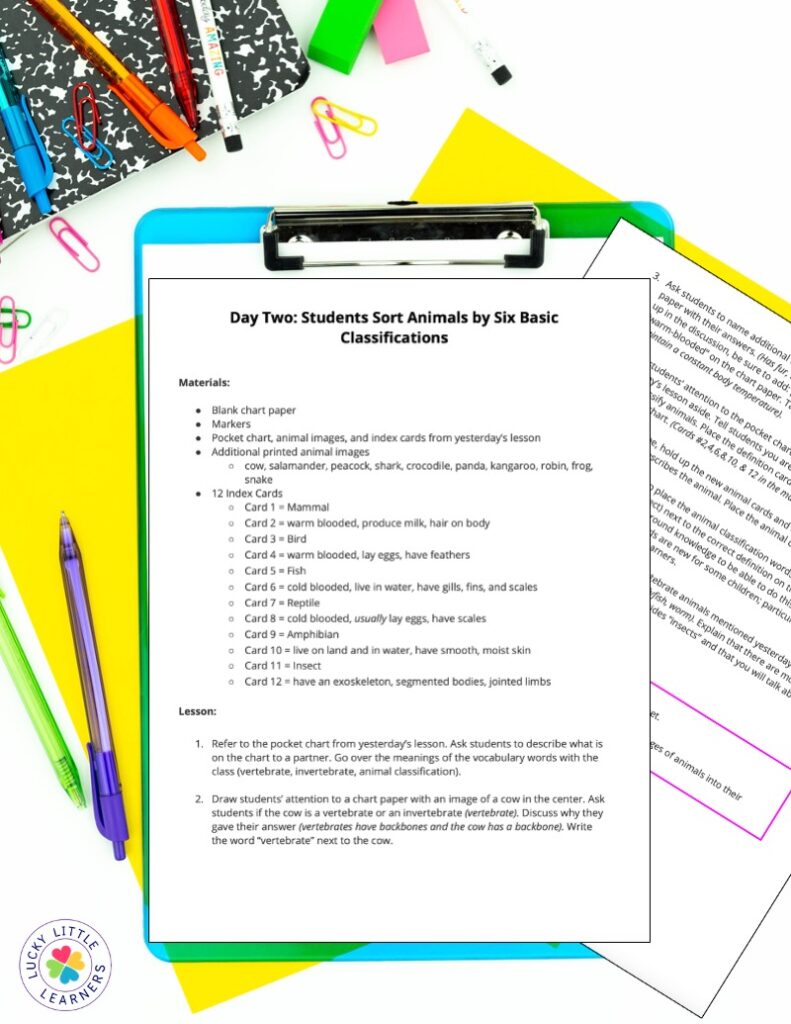
- Blank chart paper
- Markers
- Pocket chart, animal images, and index cards from yesterday’s lesson
- Additional printed animal images
- cow, salamander, peacock, shark, crocodile, panda, kangaroo, robin, frog, snake
- 12 Index Cards
- #1- Mammal
- #2- warm blooded, produce milk, hair on body
- #3 = Bird
- #4 = warm blooded, lay eggs, have feathers
- #5 = Fish
- #6 = cold blooded, live in water, have gills, fins, and scales
- #7 = Reptile
- #8 = cold blooded, usually lay eggs, have scales
- #9 = Amphibian
- #10 = live on land and in water, have smooth, moist skin
- #11 = Insect
- #12 = have an exoskeleton, segmented bodies, jointed limbs
Lesson:
- Refer to the pocket chart from yesterday’s lesson. Ask students to describe what is on the chart to a partner. Go over the meanings of the vocabulary words with the class (vertebrate, invertebrate, animal classification).
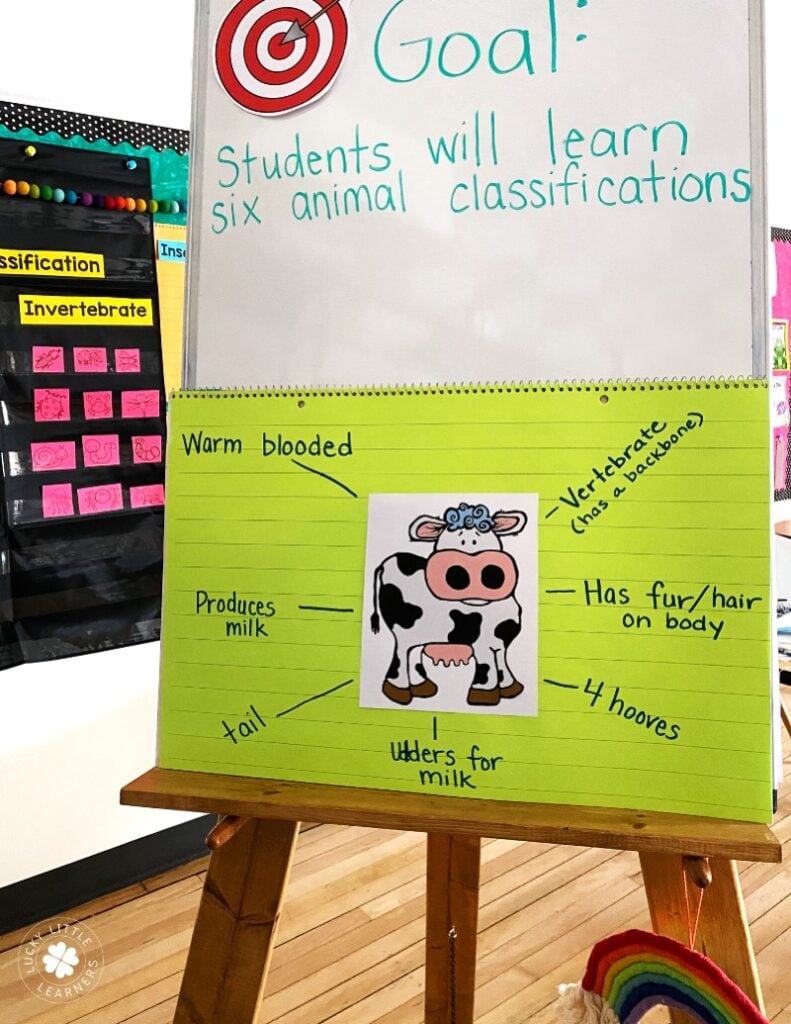
- Draw students’ attention to a chart paper with an image of a cow in the center. Ask students if the cow is a vertebrate or an invertebrate (vertebrate). Discuss why they gave their answer (vertebrates have backbones and the cow has a backbone). Write the word “vertebrate” next to the cow.
- Ask students to name additional things they notice about the cow. Label the chart paper with their answers. (Has fur, has hooves, has udders, etc.) If it does not come up in the discussion, be sure to add: produces milk, has hair (fur) on body. Write “warm-blooded” on the chart paper. Talk about what this means (the ability to maintain a constant body temperature).
- Draw students’ attention to the pocket chart. Set the images and words from yesterday’s lesson aside. Tell students you are going to learn some words scientists use to classify animals. Place the definition cards in a column along the left side of the pocket chart. (Cards #2,4,6,8,10, & 12 in the materials list above).

- Now, one-by-one, hold up the new animal cards and ask kids to tell you which definition best describes the animal. Place the animal card next to that definition.
- Challenge students to place the animal classification words (mammal, bird, fish, reptile, amphibian, insect) next to the correct definition. Most students will have background knowledge to be able to do this. Additional discussion may be needed if any words are new for some children.
- It may come up that a few invertebrate animals mentioned yesterday don't fit in any of these categories (squid, jellyfish, worm). You can explain that there are more classifications for invertebrates. These will be covered at another time.
Online Variation
Day Three: Application
Materials:
- Animal Classification Toothy Activity


